
A Comprehensive Guide to Canceling Your Planet Fitness Membership via the App
Introduction
In today’s fast-paced world, managing subscriptions and memberships can feel overwhelming. If you’re a Planet Fitness member, you might eventually want to cancel your membership—whether due to a move, busy schedule, or finding a better fitness fit. This guide walks you through canceling your Planet Fitness membership via the app, plus key tips to make the process smooth.
Understanding When to Cancel Your Membership
Before canceling via the app, it’s helpful to reflect on your reasons—common ones include relocating, having limited time to use the gym, or switching to a more convenient fitness option. Canceling when you no longer need the service prevents unnecessary charges and frees you from commitments you don’t want.
Step-by-Step Guide to Canceling Your Planet Fitness Membership via the App
Step 1: Download the Planet Fitness App
First, download the Planet Fitness app from the Apple App Store or Google Play Store. After installing, open the app and log in with your account details.
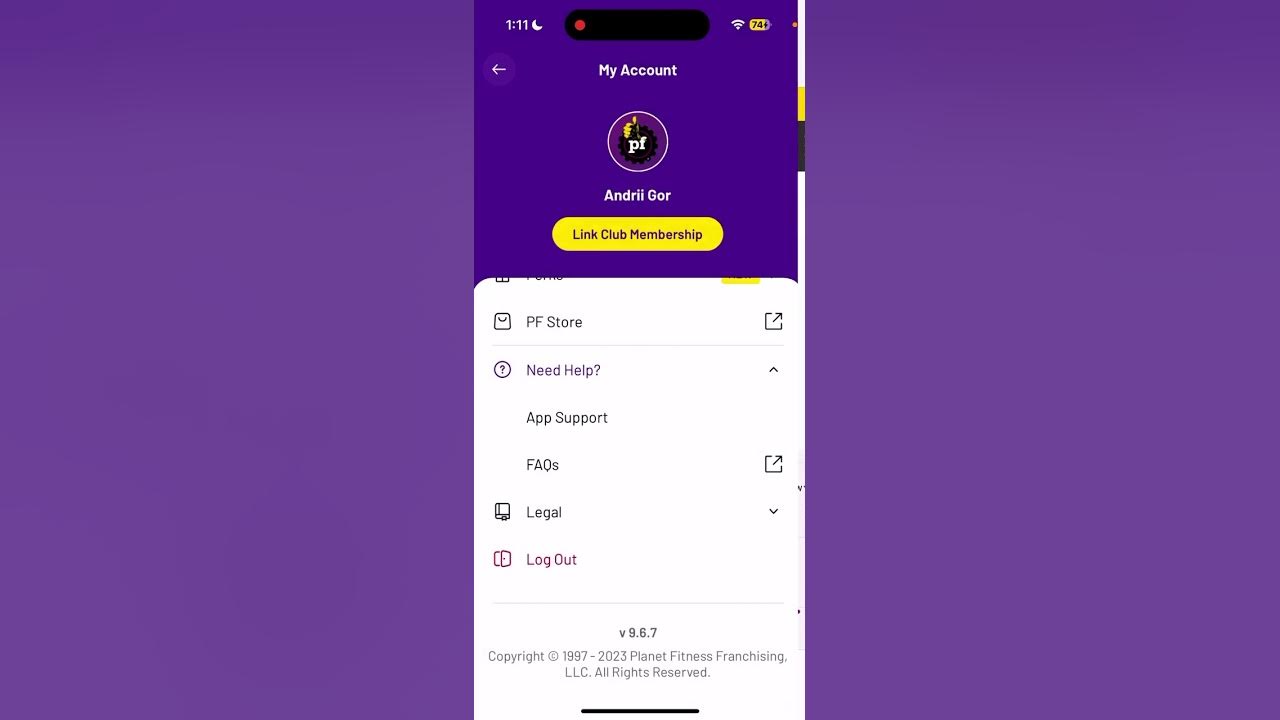
Step 2: Navigate to the Membership Settings
Once logged in, go to the membership settings—this is typically in the app’s main menu or your profile section. Look for options labeled “Membership” or “Account Management.”
Step 3: Select the Cancel Membership Option
In the membership settings, look for the option to cancel your membership (it might be called “Cancel Membership” or “Manage Membership”). Tap this option to continue.

Step 4: Confirm Your Decision
The app will likely ask you to confirm your choice. Take a minute to double-check that you’re ready to cancel, then confirm your decision.
Step 5: Provide Reason for Cancellation (Optional)
You may be asked to share a reason for canceling (this is optional). Your feedback helps the company improve its services, so feel free to enter a short reason if you’d like.
Step 6: Follow Additional Instructions
Next, the app might guide you through extra steps—like reviewing your account details, confirming your cancellation date, or updating contact info. Follow these steps closely to make sure the process goes smoothly.

Step 7: Verify Cancellation
When you finish all steps, the app will confirm your cancellation. Save any confirmation messages or emails—these are important proof of your cancellation.
Considerations and Tips
Review Cancellation Policy
Before canceling, check Planet Fitness’s cancellation policy. It may mention fees or penalties for early termination. Understanding these terms helps you avoid unexpected charges.
Keep Proof of Cancellation

Keep proof of your cancellation—like confirmation emails, app messages, or screenshots. This is useful if you have questions or issues later.
Update Other Accounts
If your Planet Fitness membership is linked to other services (like a fitness tracker or payment method), update those accounts. This prevents ongoing charges or confusion.
Conclusion
Canceling your Planet Fitness membership via the app is simple with these steps. Follow this guide for a smooth process, and don’t forget to review the policy, save proof, and update linked accounts. These steps help you manage your membership effectively and avoid unnecessary costs.

